Showing posts with label Bernina 930. Show all posts

Sunday, April 14, 2013

The “Take a Break from the Quilt” Quilt


So, this is what happens when you need to find room for some newly purchased thread and you come across the forgotten and untested Bernina walking foot.


As soon as I saw it, I went straight to my box of quilting fabrics. Minutes later, I had a bunch of 5 1/2" squares that I stitched into nine-patch blocks.


Each nine-patch block was cut in half both vertically and horizontally. After rotating the upper left and lower right squares 180 degrees, the blocks were sewn back together. Yes, you are correct. This is the called the disappearing nine-patch block.


It didn’t take long to get to the quilting part and that walking foot really did keep the layers together. Granted, some of the stitching lines are wobbly but I can’t fault the walking foot. I marked a few of them with chalk, but due to impatience, I mostly eyeballed it. Just so you know, chalk works…guessing? Hmm, not so much.


Once the binding was on and all loose threads clipped, I tossed it into the washer and dryer. I love the wrinkly transformation!


The crib-sized quilt is 45” x 60” and will become a gift.

It makes me smile.

Sunday, February 10, 2013

Machine Swaps


Last week, the Bernina 930 Record quit sewing. At first, turning the hand wheel would get it going again. This would happen sporadically, then at the beginning of every seam. Then, every few stitches…

I did what I could by taking apart the bobbin case area, verifying that no loose threads were causing mischief. Next, the feed dogs were exposed and the compacted fuzz removed. No change. Finally, I took off the lid and looked inside. It was clean and nothing obviously broken or out of place and no ugly noises came when turning the hand wheel. Maybe it is the foot pedal. Perhaps unseen thread caught somewhere…who knows?

I finally gave up and took it to the Bernina shop. They tell me it will be at least two weeks before I hear from them. Once they figure out what is wrong, it may be several more days before it is ready. It will receive a cleaning and tune-up while it is there.


So, without the trusted 930, I turned to my thrift store find, the Bernina Activa 140, and was able to finish piecing the blocks. I’d purchased a ¼” patchwork foot, similar to the one for the 930. I’d also gotten a FMQ (free motion quilting) foot. The foot was fine, but I had no luck with the stitch tension on any of my samples. I spent hours trying to get it right. It even got to the point where I was building a spreadsheet to record the various combinations of upper and bobbin case adjustments. If the top tension looked right, the lower was off and vice versa. Perhaps it needs a visit to the Bernina shop too, though the machine sews just fine without the batting… 


With two machines down, my eyes spotted the Singer 301A case under the sewing table. I’d bought this machine back in 2011 and hadn’t taken the time to clean it up and make it mine. Today was the day. I changed out the smelly felt liner on the oil drip pan. Once removed, I repeatedly washed the pan with warm water and lots of Dawn dishwashing detergent. A new felt pad was applied and no more smell.


Inside, the machine was clean, except for a few globs of old grease around the gears. I wiped them out, applied fresh oil and grease, and then made a trip to Hancock’s for a generic FMQ foot (approximately $18.00). Once home, I attached the foot and started quilting yet another batting sandwich sample. This time, the stitching, top and bottom, is wonderful! In addition, the machine makes a lovely sound. I am happy.

Now I need to figure out my plan for quilting the blocks. My choices:

  • Quilting using a unique stitching design for each block
  • Consisent stitching for each block – because they are already busy enough
My samples haven’t had any seams. Maybe it is a good idea to quilt one with several seams before deciding…

Look at what my sister sent me:

Monday, August 29, 2011

Burda 08-2011-138


I used the “new to me” Activa140 to sew this top. As hoped, it did just fine. However, I will not be switching it out for the 930 Record. The 930 is my solid tank and has the undisputed #1 spot here.


As is my custom, I ignored the Burda instructions and put the top together as I pleased. The buttons and loops at the back were skipped. First, I didn’t want to spend time sewing details on a top that might not work; also, I don’t think I’d be comfortable with that back neck opening. The top is cut longer in the back and I love the ¾ sleeves! The sleeve bands are a nice touch. I didn’t interface them but next time I might - I’ll see how they do. Also, I will bring in the neck yokes at the shoulders to ensure bra strap coverage.


The fabric came from Fabric.com – a stretch rayon. The color makes me smile.

Make it a great week!

Tuesday, April 12, 2011

Tammy and the Single-Welt Pocket


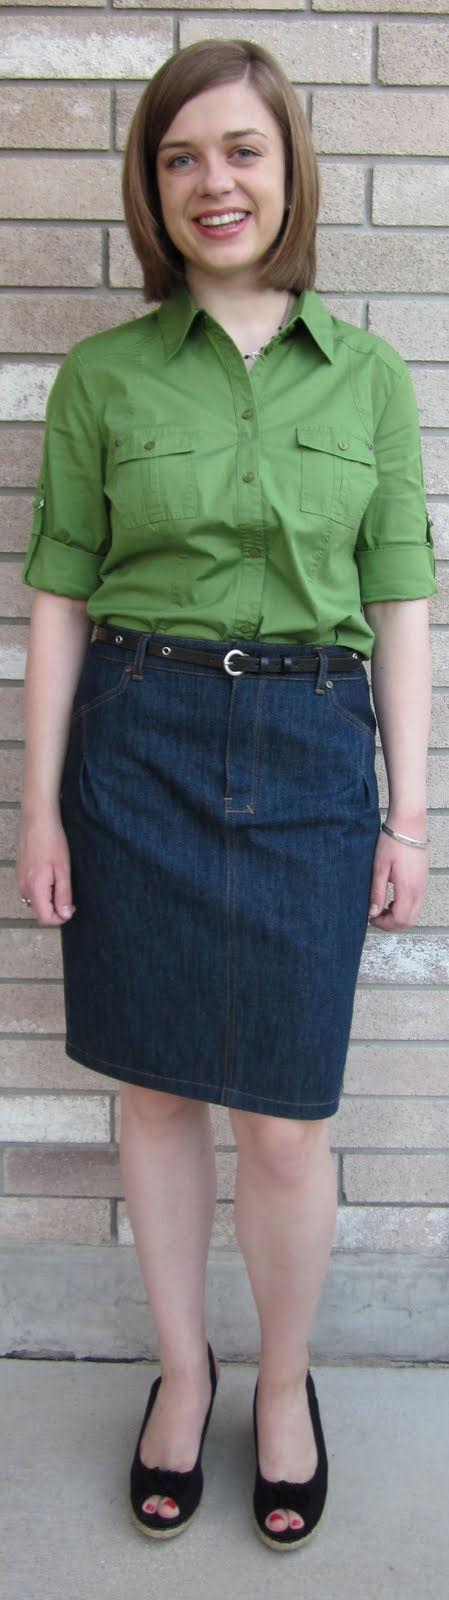
This is the newest project to come from our roll of denim. Behold the beauty of my first welt pocket.


Burda Style 05-2010-130

Besides modifying the number of welt pockets, there were other changes made from the original pattern. The most obvious being the zipper fly; it opens on the other side. I topstitched wherever I felt like it. Nope, not gonna have have to worry about dry rot in that cone of topstitching thread…The extended waistband tab was eliminated. Though it is a nice design feature, I felt it would add too much bulk, especially when constructed from denim and a belt added.


Everything was sewn on the machine – no handwork at all. I like that! I got to use the rivet press again and attached rivets to the front pockets.

Out of all of the welt pocket resources I found (and there isn’t a shortage out there - just look), I chose the information from my Palmer/Pletsch Pants for Real People book. At first, it was because the instructions have the inside pocket pieces long enough to be sewn into the waist seam and the dimensions for the various pieces were provided. That meant I didn’t have to do any math and could concentrate on the technique. However, it was the step-by-step “holdin’ my hand all the way” method got my attention.


With a total of two welt pockets to my name (the practice one and the real one), I’ve learned that making a welt pocket isn’t difficult, but it is time consuming. I just followed the instructions and it worked! The illustrations make it clear what needs to be done and the text is easy to interpret. I was lucky and found my copy at a thrift store. I think I paid a dollar for it. However, even at full retail, it is worth having as it contains a wealth of practical information.

Practice Single-Welt Pocket

Besides thrift stores, I have also purchased used sewing books online. For instance, the Vogue Sewing book (pictured in my last post) came from Amazon.com for $.01; shipping was $3.99. I’ve had only one bad online experience - a much wanted sewing book arrived smelling like cat urine. It was promptly returned.

Working on this skirt, I've not only learned how to sew a single-welt pocket but I also credit it for improving my future bar tacking skills.

I had a "duh" moment while stitching the buttonhole onto waistband. For as long as I've had the Bernina, I have been using a narrow zigzag stitch to secure fly shields, attach belt loops, etc. and I have been less than thrilled with the results. My bar tacks look messy, even with careful marking and stitching. Why couldn’t I just use the same stitch that the Bernina uses for buttonholes? After all, it is a clean, tight zigzag; just what I need for a bar tack. I couldn't come up with a good reason not to use it, other than the Bernina Buttonhole Police might come after me…


I don’t know what you have to do to get ready to sew a buttonhole on your machine, but on mine, you attach the buttonhole presser foot, put the bobbin thread through the finger of the bobbin case, adjust the stitch length and switch the buttonhole knob to position 1. This makes a great stitch for bar tacking. I wish I had thought of this sooner. Anyway, my bar tacks should start looking better.

Burda Style 12-2009-123

Burda Style 12-2009-116

What’s coming next from the denim roll? DD#1 has asked for a version of the Burda Style 12-2009-123 flounced “Snowflake” skirt. The denim has been cut and I will start on it today. I have also sewn some cropped denim pants, using modified Burda Style 12-2009-115/116, for myself.

Those Burda's are finally earning their keep.

Wednesday, March 9, 2011

Ma’am, Step Away From the Jeans

Here is the first pair of jeans from the roll. And yes, they are incomplete.

All of the changes that were made to the original pattern, Simplicity 5517, worked until I got to the waistband. When DD #1 tried the jeans on, the center fronts of the band wouldn't match up. It was simply too small. The muslin had fit nicely. Discouraged, I let the jeans sit for a few days.

I finally asked her to try them on again and I made a new pattern piece. While making changes, I also trimmed ¼” off the top so the finished width is 1 5/8”. It fits and looks great on her.

However, topstitching that band has defeated me. Twice. The Bernina isn’t appreciative of the numerous layers on the front. Right where the zipper is, the feed dogs refuse to continue, even with encouragement and coaxing from the hand-wheel. The jeans have been set aside. Again.
I am confused as that machine plows through everything. And, there isn’t anything different with this pair...the denim isn’t any heavier, nor have I used a heavier interfacing. Same machine, same needles, same thread…

I’ll try again tomorrow.

Tuesday, April 27, 2010

Pull-On Trousers/Pants - Almost Complete

The pull-on pants are almost complete.  The waistband needs to be cut out and attached.  So far, assembly has been straightforward.

I deviated from the Burda instructions by spacing the rows of topstitching a bit further apart and did not topstitch the center front and center back crotch seams.  Also, I changed my mind about adding the zipper.

The top edges of the pockets were reinforced with twill tape.  I used the Bernina satin stitch foot, #30.  It put that tape right where it needed to be.

I tried them on.  Yes, the waist is big, but it is waiting to be drawn in with the elastic.  They fit everywhere else.
 
I’m not sure what this fabric is made of and the color is actually green, not grey.  It is lightly brushed on the right side and the back is shiny and fluid, sort of like lining fabric.  It would make a beautiful suit or a tailored dress.  I wish I had more of it.

I wasn’t terribly concerned with creating perfectly aligned rows of topstitching.  However, when almost finished with the topstitching, it occurred to me that I could have used the Singer to easily produce parallel rows as it can accommodate two single needles in its needle clamp.

The double stitching could have been done on the Bernina, too.  Unlike the Singer, the Bernina requires a twin needle, which I don't often use.  The reason?  Those twin needles are pricey.  Still, the Bernina would have done a fine job.
Unrelated news:  the Singer has new bottom cushion feet and a zipper foot.  Makin’ progress.  Yep.

Wednesday, March 31, 2010

Denim Tote - Completed & the Return of the Bernina 930

The denim tote has been completed. DD#1 has claimed it. The tote is sturdy, but those pleats make it feminine and give it a bit of style - a wonderful use for the leftover denim. Here is what it looks like inside:
One of the rivets didn’t set right, so I removed it and tried again. I am not sure what tool should be used for rivet removal, but this is what I did:
First, I lifted the edges of the rivet up with a screwdriver and then I cut off the stem using this tool. It worked and if I need to remove any other rivets, this is the method I will use.

The Bernina is back.  I was able to speak to someone at the shop.  To keep it running well, I need to do the following about once a month:
  • Lower and raise the feed dogs (they get stuck if not used)
  • Run the basting stitch (yep – learned the hard way on that one)
  • Make buttonholes (again, it keeps things from getting stuck)
  • Use the embroidery stitches (specifically the honeycomb stitch as the needle has to go forward/backward and left to right to make the stitch)
Easy enough, I can do that……

Sunday, March 28, 2010

Bernina 930 - On the Mend & Making Room for the 403A

The Bernina is being serviced and should be ready for pick-up by the middle of the week.  The pin on the clutch will be repaired or replaced. I forgot to ask which.  Anyway, it will work again.

The basting stitch needs to be used periodically to lubricate the pin on the clutch.  Not knowing this, I haven’t run the basting stitch and I doubt that it had been before the machine came to me.  So, even if it is oiled properly, not using the basting stitch prevents the oil from getting into where it belongs.  Eventually, the needle will not go up and down.  This is what was explained to me. Lacking the mechanical gene, I have to trust.

I was informed that the feed dogs are like bald tires and the light bulb is on the way out. They will be replaced. Once again, I have to trust.

It was good to know that this was not caused by the denim.  Yes, I have had guilt, and, well, I still do as this pin/clutch thing was a direct result of neglect.  I am going to find out if there is anything else that I need to be doing to keep the machine in good working order.

The 403A has spent the weekend in Illinois and is scheduled to be delivered on Wednesday.  I bought some machine oil and a few plastic bobbins, in case the metal ones don’t arrive when the machine does.  The manual has been printed.

Also, in preparation for its arrival, I have been forced to critique the organization of my sewing possessions.  There isn’t room here to add much more and that is why the 403A is coming without a cabinet.  Where will I store it?  The closet?  No, not without an intervention.

So be it.  There has been an intervention.  The closet is no longer solidly stuffed from floor to ceiling.  I would like to report that I had a gentle demeanor while this change was occurring.  But, I cannot.  There was much grumbling and stomping.  The closet has been put right with the offending boxes moved to the shelves above.  One can now actually enter the closet without removing boxes first.  And, the items inside are easily viewed and accessed.  A place has been made ready for the new machine.

The garage is next…..

Friday, March 26, 2010

Bernina 930 Repair and Singer 403A

I checked the Bernina into the shop yesterday. It may be a few days before they can examine it and let me know what needs to be done. While it is there, they will make sure that everything else is in good shape. It will also receive a professional cleaning.

Not having it here has created a void and made me realize that I need to have a backup machine. I have been shopping on Craigslist and eBay.  I also visited a few thrift stores, but that was depressing. The few machines I found were broken, scratched, filthy and expensive.

I purchased a machine on eBay that met my requirements of strength and modest price:  a Singer 403A. Yes, a Slant-O-Matic!  The 403A has the streamlined style beginnings of the 500 series and just makes you smile to look at it.

This machine, like the Bernina, is all metal.  In the eBay photos, a few chips in the paint are clearly visible and the rubber bobbin winder tire appears dried out and cracked.  I ordered a replacement.  I have also ordered some vintage Singer class 66 bobbins, and have downloaded, in PDF form, the manual.  This should help me to get started right away.  I will gather additional presser feet and cams once I know the machine is a keeper. It will also need a carrying case.

The 403A has been shipped.

Thursday, March 25, 2010

Denim Tote - Bernina 930 Defeated

While starting the final row of topstitching, the size 18 needle on the Bernina seized, but it did not break.  I unstuck it from the denim and examined it.  It had a rough spot near the point, so I replaced it with a fresh one and rethreaded the machine.  Everything appeared to be fine, except the needle would not go up or down.  I will call the Bernina shop today.....

The seam where those pins are is several layers thick.  I had started the topstitching on the side seam where even more layers are folded.  And, in case you are wondering, no, I did not hit a pin.

I use a lot of pins. I don't like to baste, unless I have to. I know that various tapes and glues are popular. For me, pins do the job.

The topstitching, besides being decorative on the outside, also fastens the bottom of the band lining to the tote.  Of course, I did not follow the pattern instructions.  The instructions have the tote lining sewn only at the upper edge, where the handles are.  The lining is otherwise loose inside the tote - making for a messy look, don't you think?

The tote wants rivets.  It shall have them.

Wednesday, February 10, 2010

My Tools

This is my fine Bernina 930Record. I bought the clear extension table from Allbrands.com. Love it!


This is my cutting table. Actually, it is a game table that I bought at a flea market about twenty-five years ago. The top turns and folds out to become much larger. The only thing that could be better, is if it were a few inches taller.....